Dying Wool
This weekend I convinced my DH Ian that it would be fun to try our hand at dying some wool. I saw an episode on Knitty Gritty about it and it inspired me. I went to The Knitting Room and got some natural yarn to dye (Cascade 220, Cascade Pastaza & Manos Del Uraguay). Then I went to the Rug & Yarn Hut to buy some books and dye. Karen at the Rug & Yarn Hut was really helpful in explaining the process.
So we started with natural, undyed wool, which I tied with scrap cotton yarn to prevent more tangling then necessary.
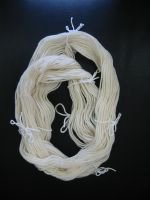


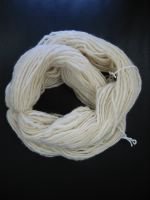
Top Row: Cascade 220 in Color 8010, Cascade 220 in Color 8021
Bottom Row: Cascade Pastaza in Color 001 & Manos Del Uruguay
We decided to only dye a few skeins, so that we could take our time and play a bit with different techniques. So Ian chose to work with a half-skein of Cascade 220 in color 8010 (white) and I worked with a half-skein of Cascade 220 in color 8021 (tan) and a skein of Cascade Pastaza in color 001 (white).
I'm planning to knit Ian a Christmas stocking (definitely not in time for this Christmas) and so he wanted me to make it out of yarn we dyed. So Ian used a tied-dyed technique of wrapping plastic bag strips at random all over the yarn and then dropping the yarn into a pot with different amounts of red dye. He would then remove the yarn at intervals and add more bag strips.
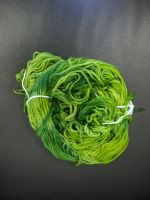
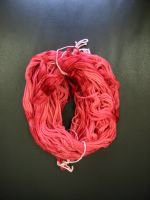
Red & Green Cascade 220
I used a similar technique, but with green dye, the Cascade 220 in a tan color and using a glass dish (w/lid) in the microwave. I also did a few more dips then Ian did, and added AND removed strips between each stint in the Microwave. We'll need to do several more skeins to have enough for a stocking, but at least we have the process down.
For the Cascade Pastaza I wanted to create a yarn with my favorite colors - Orange, Red & Yellow. It is fall after all!

Autumn Colored Cascade Pastaza
I started by wrapping strips around the yarn strands (rather then around all of the yarn mushed together in a ball) in an orderly fashion. That is right next to each other. I dunked my yarn in a pot on the stove with yellow dye in it first. Then I took the yarn out of the dye and removed some of the bag strips, exposing some undyed yarn, and added some bag strips over the yellow-dyed yarn. I added some red dye to the yellow dye, making a light orange color, and dunked my yarn in again. I repeated this process, each time adding more red dye and removing and adding bag strips. It was a really fun, but time consuming process.
I was worried the wool might felt in the dying process (especially with all of the lifting in and out of boiling water) but it wasn't a problem. I tried to keep that temperature even and set the yarn in hot water for 30 minutes before placing it in the dye pot, so I think that helped.
After the yarn dried I would it into balls. I can't wait to knit with it!
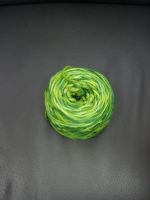
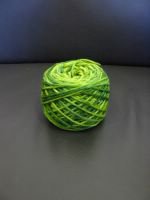
Green Cascade 220 Wound
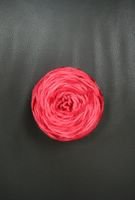

Red Cascade 220 Wound
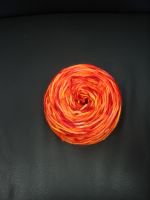

Autumn Pastaza Wound
~ Christina


5 Comments:
Wow! Beautiful. And it looks like you had fun too :)
8:10 PM
NICE!! What a fun project. Can't wait to see how it knits up!
10:55 AM
Your autumn colored yarn really looks llike the Lorna's Laces FLAMES colorway I used in my birthday socks last year. Very warm & inviting. Watch out, Lorna - here comes Christina!
5:16 PM
Thanks for the kind words. I did have a bunch of fun. I didn't do anything with the Manos or the other half-skeins of the Cascade 220 so I'm already planning my next dying day. Any of you local ladies are welcome to join me!
~ Christina
12:22 PM
I really like the colors you picked. And as usual, your photography skills show them up so well. If only I was as good as taking photos!
12:33 PM
Post a Comment
<< Home